Handling email bounce and complaints for Amazon AWS SES in Laravel
This tutorial provides and in-depth knowledge on how to get your invalid emails filtered out from your contact or subscribers list through Amazon AWS SES Bounce & Complaint Handling in your PHP application.
So lets start with the situation.
We have a contact or a subscribers list with 100000 or more emails, to which all our marketing, promotional and transactional mails are going. We store the list in a database and send one email per recipient through Amazon SES. We don't know whether all emails are expired, valid or not, and keep on sending emails to all email with out filtering anything. Thus we end up in high bounce rate.
FAQs
- How to handle email bounce?
- How can we reduce bounce rate and gain reputation?
- How can we clean or segregate our subscribers or contact list in a database?
In the background of Amazon AWS SES bounce and complaint handling
Amazon SES assigns a unique message ID to each email that we successfully submit to send. When Amazon SES receives a bounce or complaint message from an ISP, Amazon SES forward the feedback message to us. The format of bounce and complaint messages varies between ISPs, but Amazon SES interprets these messages and, if you choose to set up Amazon SNS topics for them, categorizes them into JSON objects.
Solution
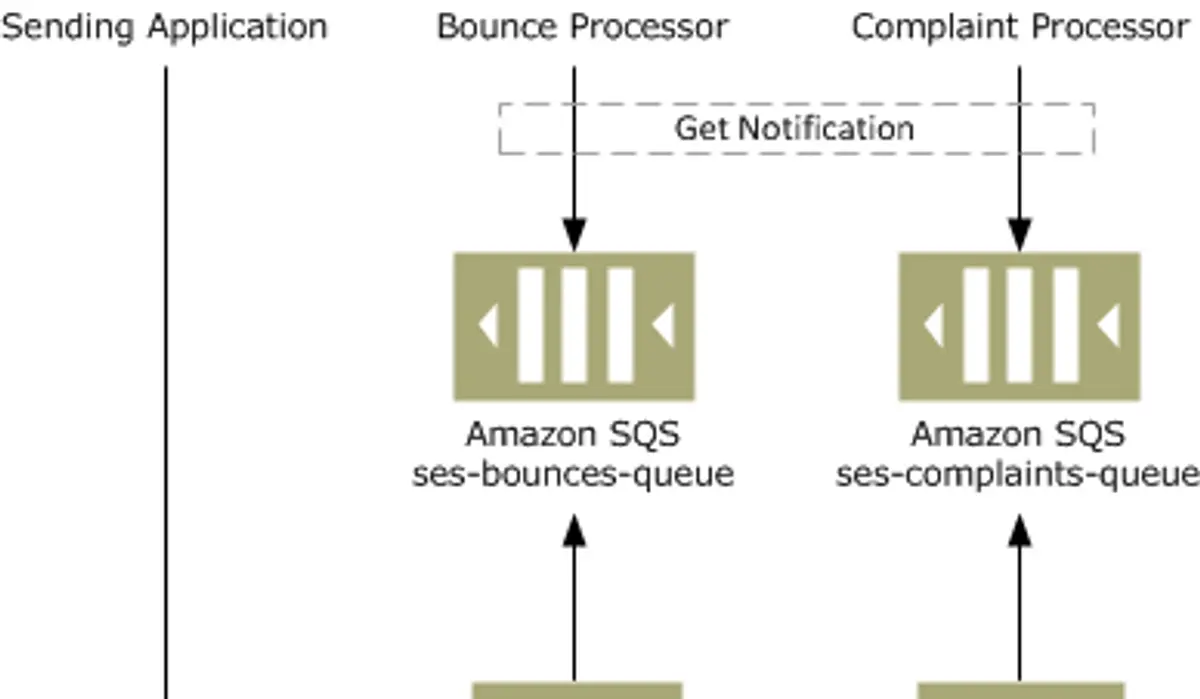
To implement bounce and complaint handling, we will use separate Amazon SNS topics for bounces and complaints to isolate the notification channels from each other and manage them separately. Also, since the bounce and complaint handler will not run 24/7, we need these notifications to persist until the application processes them. Amazon SNS integrates with Amazon Simple Queue Service (Amazon SQS), which is a durable messaging technology that allows us to persist these notifications. We will configure each Amazon SNS topic to publish to separate SQS queues. When our application runs, it will process queued notifications and update the email list.
In our tutorial we will only set up email bounce and complaint topics. If you find issues creating bounce and complaint topics, go through the Amazon Simple Email Service Developer Guide, if you still have issues, just comment below, we will help you on that or have an article on How to set up bounce and complaint topics and subscriptions in Amazon AWS account.
Steps to follow
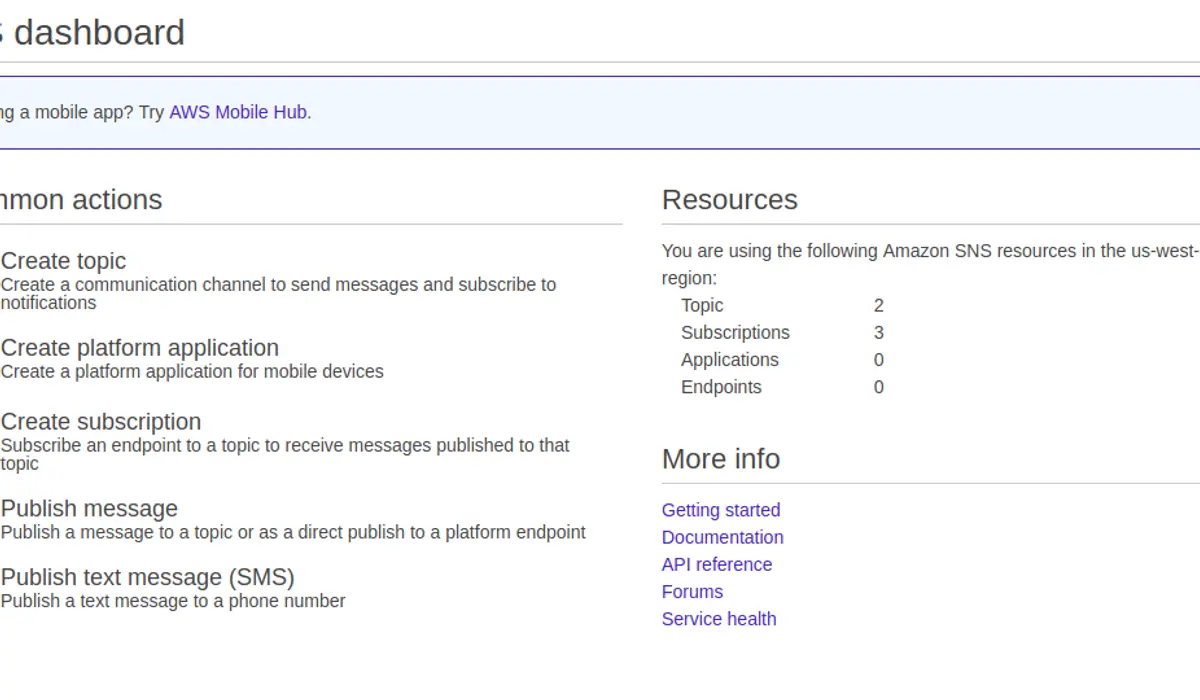
1. Create SNS Topic
2. Create subscription
3. Confirm subscription
Handling subscription is done by the endpoint, which is nothing but the url which we specify where we collect the JSON response from AMAZON SNS. Similarly all further response from Amazon SNS will be made by this end point. You can choose HTTP or HTTPS which ever is suitable for your application. Same time, if you want to specify two different route or endpoint to handle bounce and complaint is also possible.
How to get Amazon SNS Subscription confirmation URL
So here goes the coding part, as Amazon SNS will make a HTTP or HTTPS request to the endpoint we have specified while confirmation, we have to handle the response and get the url from the response and verify. For this we will create a API which handle the request and a controller to process response.
<!--routes/api.php-->

Route::post('amazon-sns/notifications', 'AmazonController@handleBounceOrComplaint');<!--AmazonController-->
class AmazonController extends Controller
{
public function handleBounceOrComplaint(Request $request)
{
Log::info($request->json()->all());
$data = $request->json()->all();
if($request->json('Type') == 'SubscriptionConfirmation')
Log::info("SubscriptionConfirmation came at: ".$data['Timestamp']);
if($request->json('Type') == 'Notification'){
$message = $request->json('Message');
switch($message['notificationType']){
case 'Bounce':
$bounce = $message['bounce'];
foreach ($bounce['bouncedRecipients'] as $bouncedRecipient){
$emailAddress = $bouncedRecipient['emailAddress'];
$emailRecord = WrongEmail::firstOrCreate(['email' => $emailAddress, 'problem_type' => 'Bounce']);
if($emailRecord){
$emailRecord->increment('repeated_attempts',1);
}
}
break;
case 'Complaint':
$complaint = $message['complaint'];
foreach($complaint['complainedRecipients'] as $complainedRecipient){
$emailAddress = $complainedRecipient['emailAddress'];
$emailRecord = WrongEmail::firstOrCreate(['email' => $emailAddress, 'problem_type' => 'Complaint']);
if($emailRecord){
$emailRecord->increment('repeated_attempts',1);
}
}
break;
default:
// Do Nothing
break;
}
}
return Response::json(['status' => 200, "message" => 'success']);
}
}Now we can either save theSubscription Confirmation in the database table or log the response and get the subscription confirmation url and verify our SNS topic we have created. And finally our application is capable of handling email bounce and complaint which in future Amazon SNS might send.
Hope this tutorial helped you. Peace :)