29 June 2018
How to send bulk email in Laravel with Amazon (AWS) SES
Sending bulk email in Laravel with Amazon SES allowed sending Limit, this will be useful if you want to send more emails per seconds to your customer and users.
The best email support for Laravel - Amazon's Simple Email Service (SES)
Amazon SES posses hard limits on number of emails it can send per second. So if our application breaks this limit, SES will discard emails over that limit. This is not a problem when sending transactional emails, when sending campaigns it is important to keep track of sending speed.
With sand box access you can send email to verified emails in SES. If you want to move out of sand box, you have to request for SES sending limit increase. Once you have moved out of sand box, you can start sending more emails to your users on a limit per second basis.
Steps to send bulk email in Laravel with Amazon (AWS) SES
- Create User Credentials with Amazon SES
- Configure Laravel to Use Your Amazon SES Credentials
- Configuring and installing Amazon AWS SDK in Laravel
- Send bulk email with AWS API in Laravel
Step 1. Create User Credentials with Amazon SES
When you login into AWS go to the list of Amazon web services, there you need to select SES
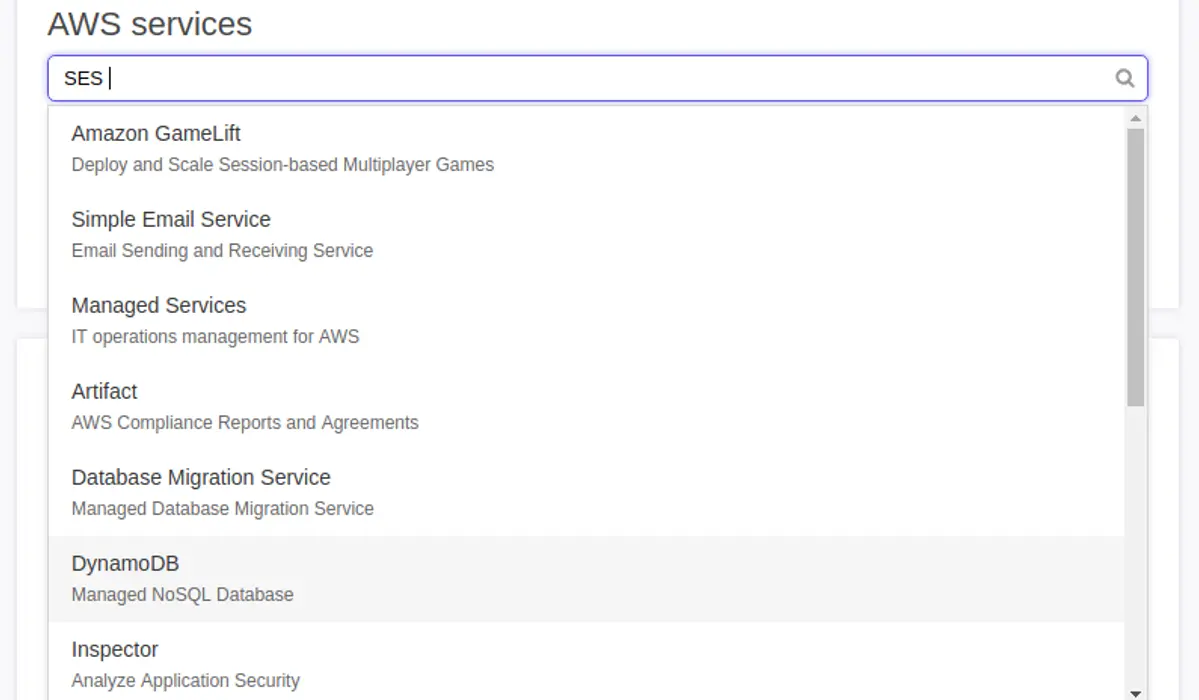
Amazon Web Services List
After selecting SES you will be redirected to SES Dashboard. There you can see sending limits, number of sent emails and some metrics.
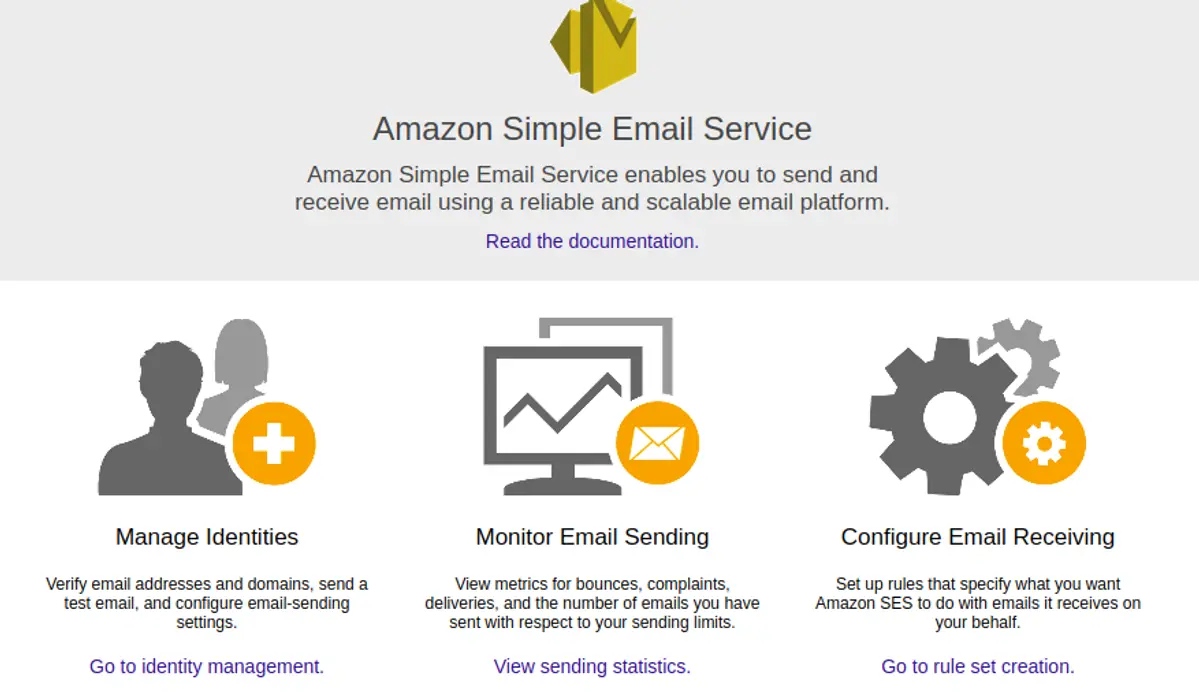
SES Dashboard
New user accounts on SES are in sandbox mode, and they can send emails only to verified emails in SES with certain sending limt. By requesting a sending limit increase you will get better sending speed, and your app will be able to send emails to any address.
AWS SES posses a great API, which can be useful for huge email campaigns. To generate new set of keys you have to visit Account - My Security Credentials.
By clicking on Get Started with IAM Users button you will be redirected to IAM's page. IAM is AWS system for identity management ( simplified: generating keys for different AWS services ). Create your user account and get your Access Key and Secret Key.
If you have trouble in creating Account keys, just go through our tutorial on how to set up Amazon IAM user account for email sending.
Now we have all the info we need to send emails using AWS SES.
In production systems, AWS requests from senders to have web hooks which will catch bounce and comply requests from AWS. We'l cover this in some of future tutorials.
Worth reading
1. Amazon Simple Email Service Email Sending Best Practices
2. Developer Guide
Step 2. Configure Laravel to Use Your Amazon SES Credentials
Inserting SMTP details in .env file
MAIL_DRIVER=smtp
MAIL_HOST=email-smtp.us-west-2.amazonaws.com
MAIL_PORT=587
MAIL_USERNAME=XXXXXXXXXXXXXXXXXXXXXXXX
MAIL_PASSWORD=XXXXXXXXXXXXXXXXXXXXXXXX
MAIL_ENCRYPTION=tls
If need to send bulk emails, you can give your Aws credentials in the file which you are sending email. For our Laravel applications use can use any Queue service like, Redis, Amazon SQS, Beanstalk and many more. For our project we will be using Beanstalk as Queue. For installation details and sending emails over queue please read our tutorial dedicated to Beanstalk and Laravel Queue.
If you are in testing phase you can use sync driver or databse for queue, that will mimic queue without actually using it. This helps you code everything like there is a queue, but without really configuring it.
In .env file:

QUEUE_DRIVER=sync

or

QUEUE_DRIVER=database
Later you'll switch this with Beanstalk or redis driver for Laravel
Step 3. Configuring and installing Amazon AWS SDK in Laravel
Installing AWS SDK for PHP
You can follow the steps given in GitHub or Amazon SES docs.
The AWS Service Provider can be installed via Composer by requiring the aws/aws-sdk-php-laravel package in your project's composer.json.
{
  "require": {
    "aws/aws-sdk-php-laravel": "~3.0"
  }
}
Then run a composer update
php composer.phar update
To use the AWS Service Provider, you must register the provider when bootstrapping your application.
Lumen
In Lumen find the Register Service Providers in your bootstrap/app.php and register the AWS Service Provider.
$app->register(Aws\Laravel\AwsServiceProvider::class);
Laravel
In Laravel find the providers key in your config/app.php and register the AWS Service Provider.
'providers' => array(
    // ...
    Aws\Laravel\AwsServiceProvider::class,
)<!--Find the aliases key in your config/app.php and add the AWS facade alias.-->
'aliases' => array(
// ...
'AWS' => Aws\Laravel\AwsFacade::class,
)Configuration
By default, the package uses the following environment variables to auto-configure the plugin without modification:
AWS_ACCESS_KEY_ID
AWS_SECRET_ACCESS_KEY
AWS_REGION (default = us-east-1)
To customize the configuration file, publish the package configuration using Artisan.
php artisan vendor:publish --provider="Aws\Laravel\AwsServiceProvider"
Update your settings in the generated app/config/aws.php configuration file.
return [
  'credentials' => [
    'key'  => 'YOUR_AWS_ACCESS_KEY_ID',
    'secret' => 'YOUR_AWS_SECRET_ACCESS_KEY',
  ],
  'region' => 'us-west-2',
  'version' => 'latest',

  // You can override settings for specific services
  'Ses' => [
    'region' => 'us-east-1',
  ],
];
Referring Laravel 5.2.0 Upgrade guide, you must using config file instead of environment variable option if using php artisan config:cache.
Step 4. Send bulk email with Aws API in Laravel
You can use different methods to test your application, in our case we will be using Laravel Controller
Few simple methods to test bulk email sending in Laravel
1. Creating a Laravel Command and adding the email sending part to a Laravel Queue
2. Create a command and test from your terminal
3. Creating a simple Controller and test the results.
Code:
<?php
namespace App\Http\Controllers;
use Log;
use Exception;
use Aws\CommandPool;
use Aws\Ses\SesClient;
use GuzzleHttp\Client;
use Aws\ResultInterface;
use Aws\CommandInterface;
use Illuminate\Http\Request;
use Aws\Exception\AwsException;
use Illuminate\Queue\SerializesModels;
use GuzzleHttp\Promise\PromiseInterface;
use GuzzleHttp\Exception\GuzzleException;
class TestController extends Controller
{
    public function test()
    {
        $client = new SesClient(['version' => 'latest', 'region' => 'us-west-2', 'credentials' => ['key' => 'XXXXXXXXXXX', 'secret' => 'XXXXXXXXXXXXXXXXXX', ], ]);
        $recipients = ['example1@example.com', 'example2@example.com', 'example3@example.com', ];
        // Shuffle recipients for testing purposes
        shuffle($recipients);
        // Queue emails as SendEmail commands
        $i = 100;
        $commands = [];
        foreach ($recipients as $recipient)
        {
            $commands[] = $client->getCommand('SendEmail', [
            // Pass the message id so it can be updated after it is processed (it's ignored by SES)
            'x-message-id' => $i, 'Source' => 'AWS SES parallel test <support@vannstudios.com>', 'Destination' => ['ToAddresses' => [$recipient], ], 'Message' => ['Subject' => ['Data' => 'SES API test', 'Charset' => 'UTF-8', ], 'Body' => ['Html' => ['Data' => 'This is a <b>test</b>.', 'Charset' => 'UTF-8', ], ], ], ]);
            $i++;
        }
        try
        {
            $timeStart = microtime(true);
            $pool = new CommandPool($client, $commands, ['concurrency' => 10, 'before' => function (CommandInterface $cmd, $iteratorId)
            {
                $a = $cmd->toArray();
                // echo sprintf('About to send %d: %s' . PHP_EOL, $iteratorId, $a['Destination']['ToAddresses'][0]);
                Log::info('About to send ' . $iteratorId . ': ' . $a['Destination']['ToAddresses'][0]);
            }
            , 'fulfilled' => function (ResultInterface $result, $iteratorId) use ($commands)
            {
                // echo sprintf(
                //  'Completed %d: %s' . PHP_EOL,
                //  $commands[$iteratorId]['x-message-id'],
                //  $commands[$iteratorId]['Destination']['ToAddresses'][0]
                // );
                Log::info('Completed ' . $commands[$iteratorId]['x-message-id'] . ' :' . $commands[$iteratorId]['Destination']['ToAddresses'][0]);
            }
            , 'rejected' => function (AwsException $reason, $iteratorId) use ($commands)
            {
                // echo sprintf(
                //  'Failed %d: %s' . PHP_EOL,
                //  $commands[$iteratorId]['x-message-id'],
                //  $commands[$iteratorId]['Destination']['ToAddresses'][0]
                // );
                Log::info('Reason : ' . $reason);
                Log::error('Amazon SES Failed Rejected:' . $commands[$iteratorId]['x-message-id'] . ' :' . $commands[$iteratorId]['Destination']['ToAddresses'][0]);
            }
            , ]);
            // Initiate the pool transfers
            $promise = $pool->promise();
            // Force the pool to complete synchronously
            $promise->wait();
            $timeEnd = microtime(true);
            // echo sprintf('Operation completed in %s seconds' . PHP_EOL, $timeEnd - $timeStart);

        }
        catch(Exception $e)
        {
            // echo sprintf('Error: %s' . PHP_EOL, $e->getMessage());
            Log::error('Catch Block: Amazon SES Exception : ' . $e->getMessage());
        }
    }
}
I hope the tutorial helped you. Good luck. Cheers!


